
VINCENT THE RIPPER
Book Images
Chapter 9
Chapter 10
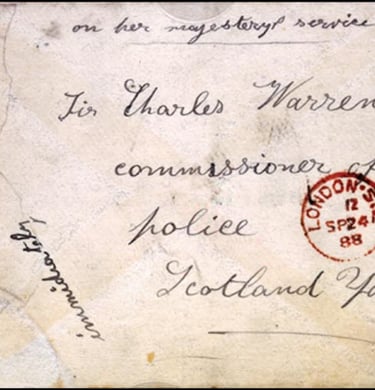
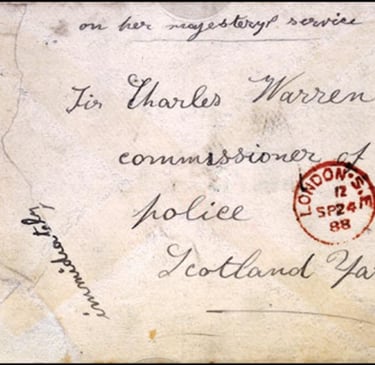
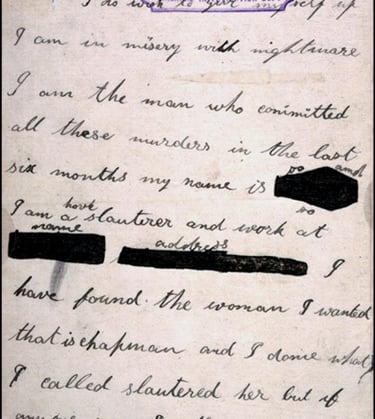
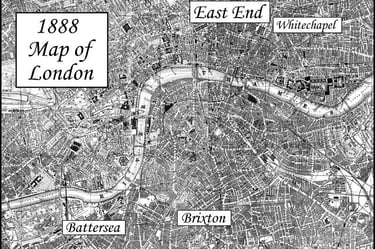
Figure 9.1
Figure 9.2
Figure 9.3

Chapter 11
Figure 11.1
Figure 11.2
Chapter 12
Chapter 13
Chapter 14
Chapter 15
Chapter 16
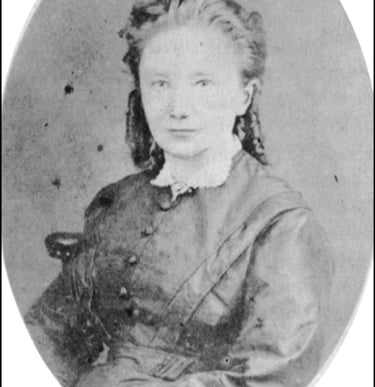
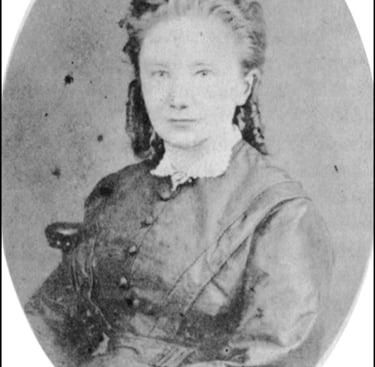
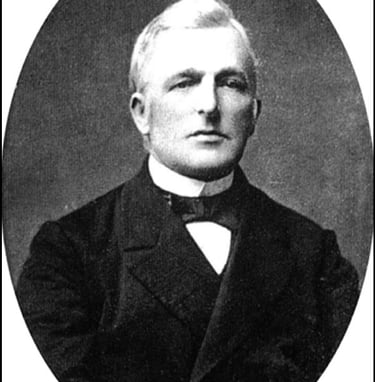

Figure 12.1
Figure 12.2
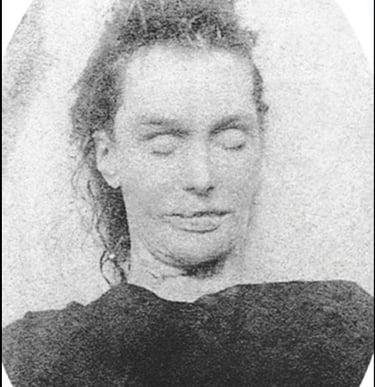
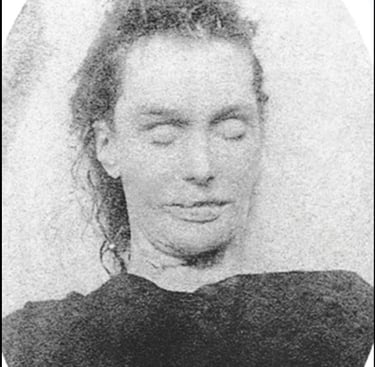
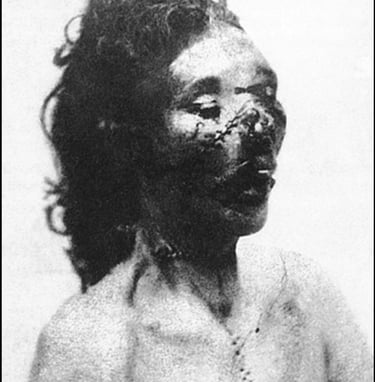
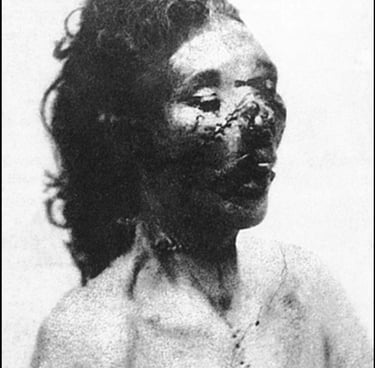
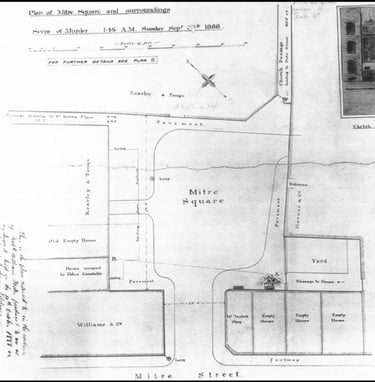
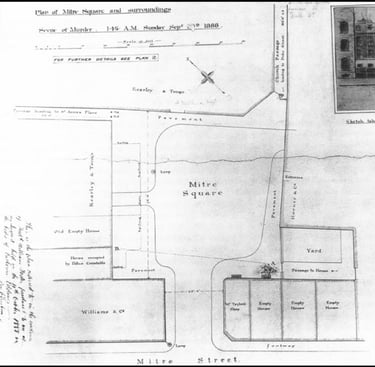
Figure 13.1
Figure 13.2
Figure 13.3
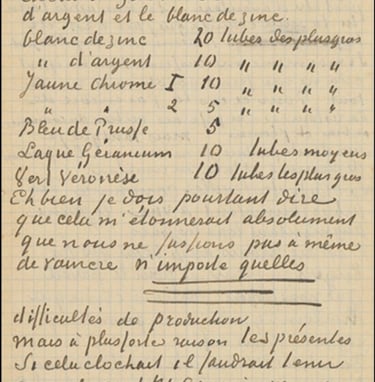
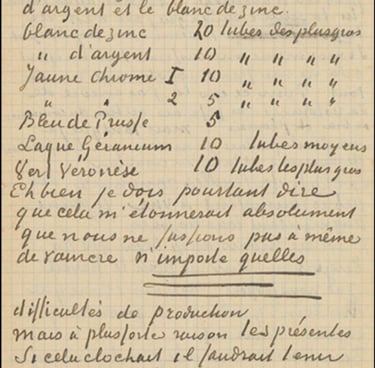

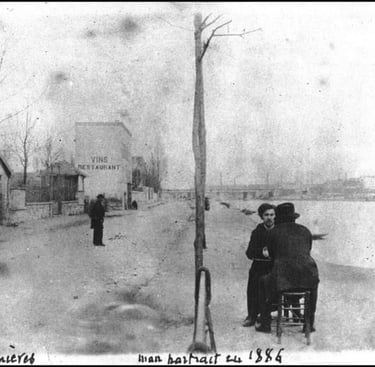
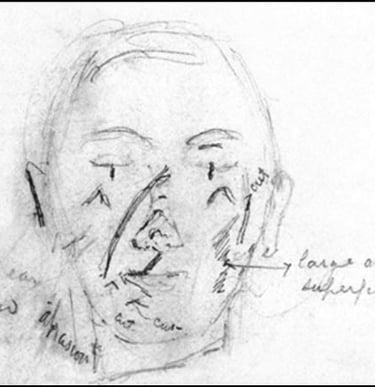

Figure 15.1
Figure 15.2
Figure 16.1
Figure 16.2
Chapter 9 to Chapter 17

Figure 9.4
Figure 13.4
Figure 13.5

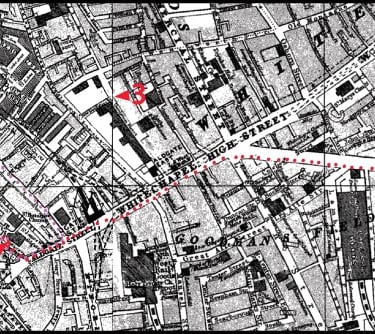
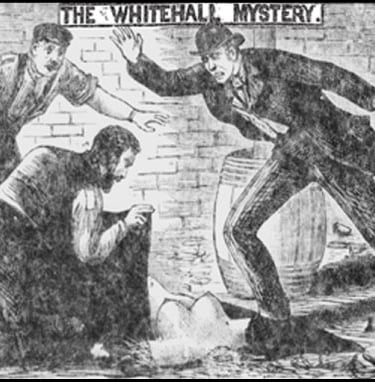
Figure 14.1
Figure 14.2
Figure 15.3
Chapter 17
Figure 16.3
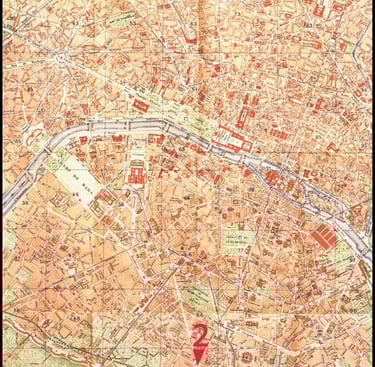
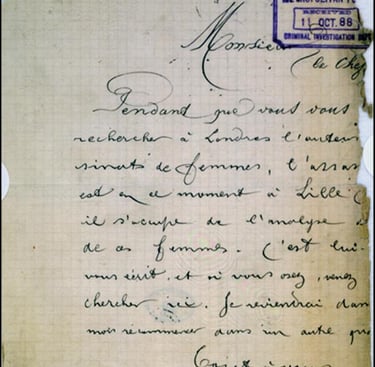

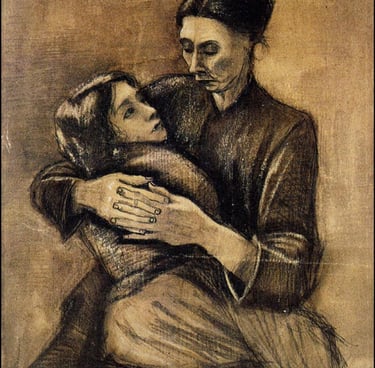

Figure 17.1
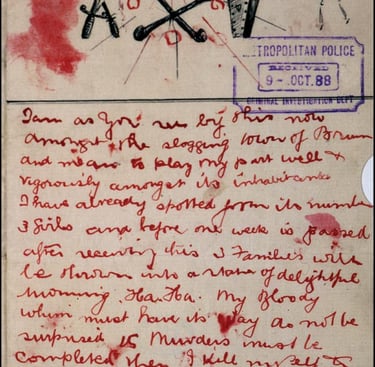
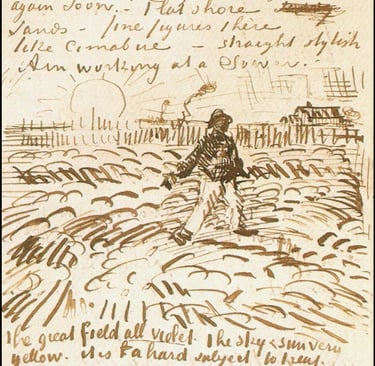
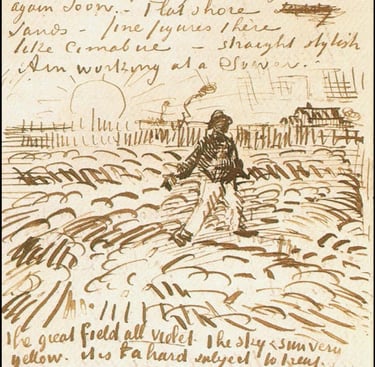
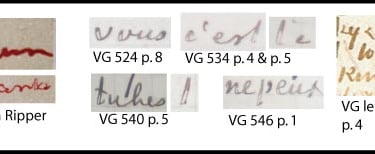
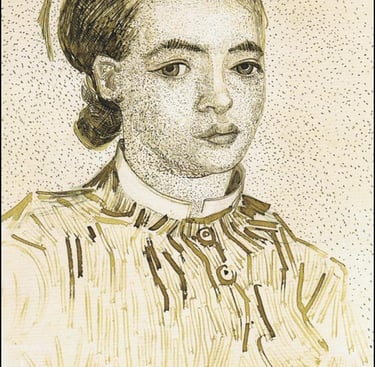


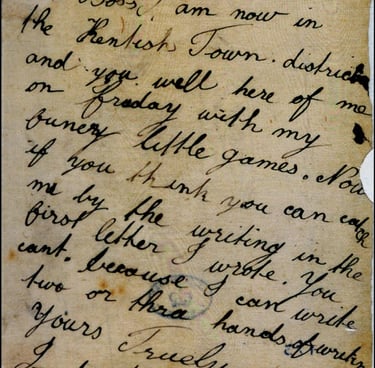
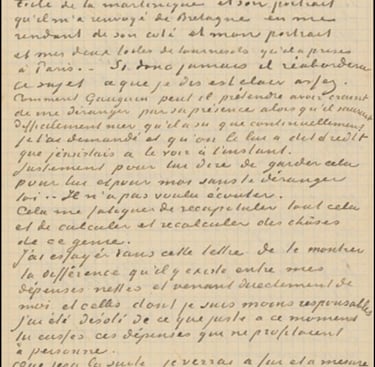
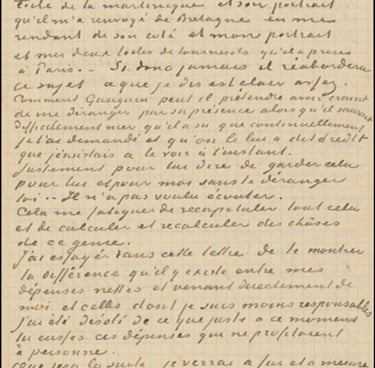
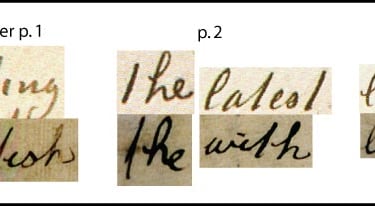
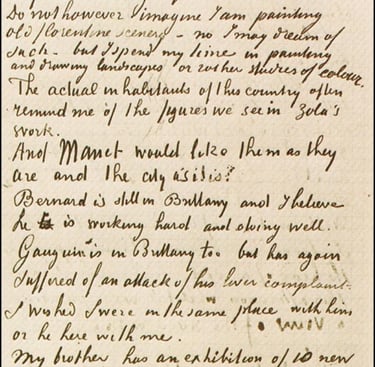
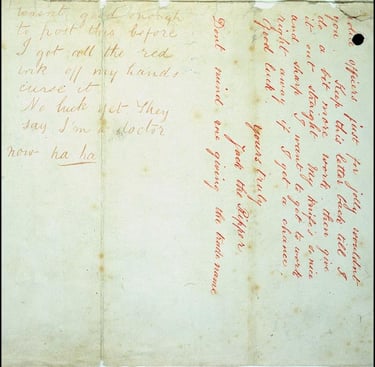
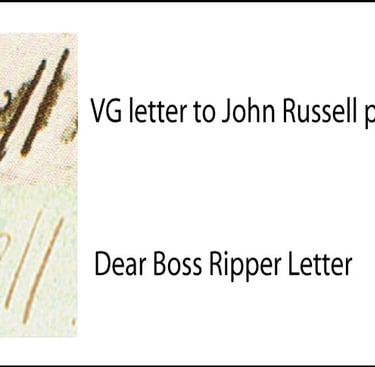
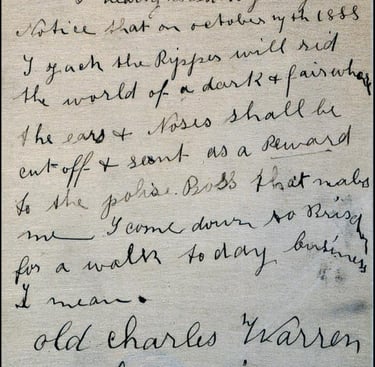
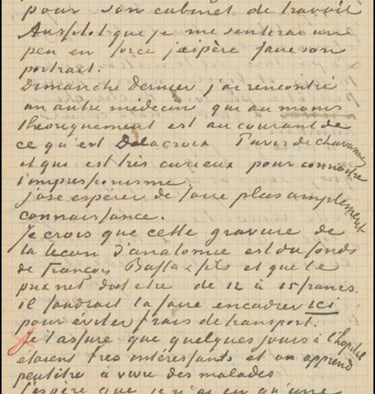
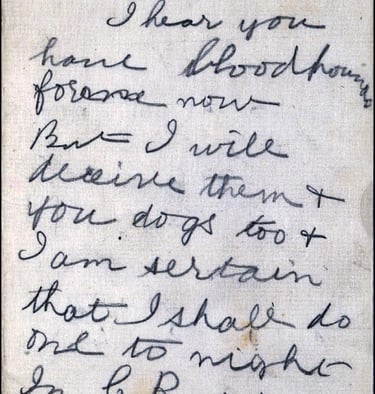

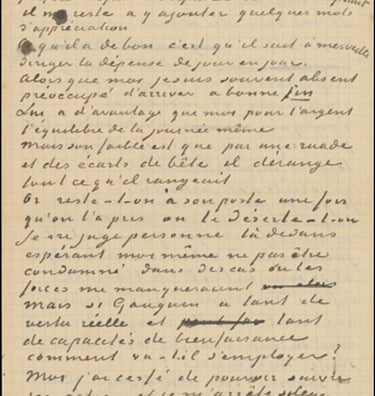
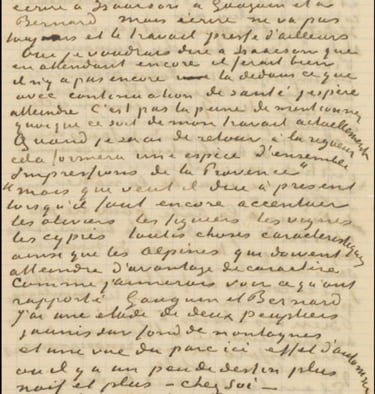
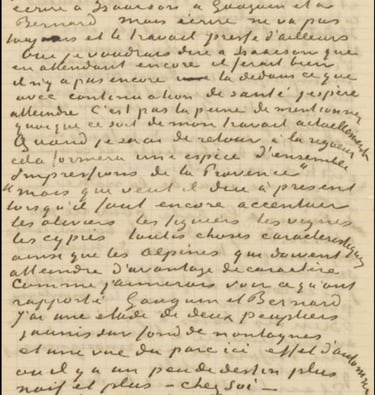
Figure 17.2
Figure 17.3
Figure 17.4
Figure 17.5
Figure 17.6
Figure 17.7
Figure 17.8
Figure 17.9
Figure 17.10
Figure 17.11
Figure 17.12
Figure 17.13
Figure 17.14
Figure 17.15
Figure 17.16
Figure 17.17
Figure 17.18
Figure 17.19
No Images
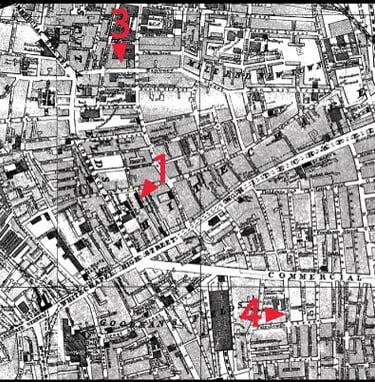
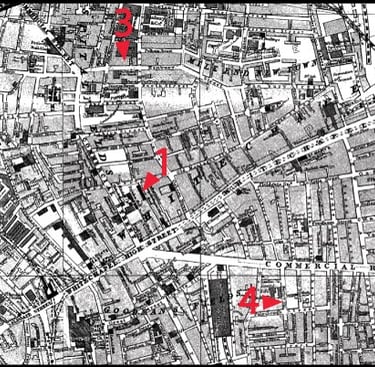
Figure 13.6